Introduction
To use mPOS solution, you will need a HiLite Card Reader and the mPOS app (Payments) installed in a smartphone or tablet. Both devices connect via Bluetooth, and the HiLite card reader can be paired in the same way as any other device. Note that a connection to the Internet is required for the completion of payments.
To find out how to use HiLite card reader visit card reader guide here.
1. Download the mPOS App
You can download the Payments mPOS app either from the Play Store (Android) or App Store (iOS). Please grant the permissions requested (including Location).
2. Account set-up
To use mPOS app to accept card payments, you need to be set up with your own merchant account.
3. First time login
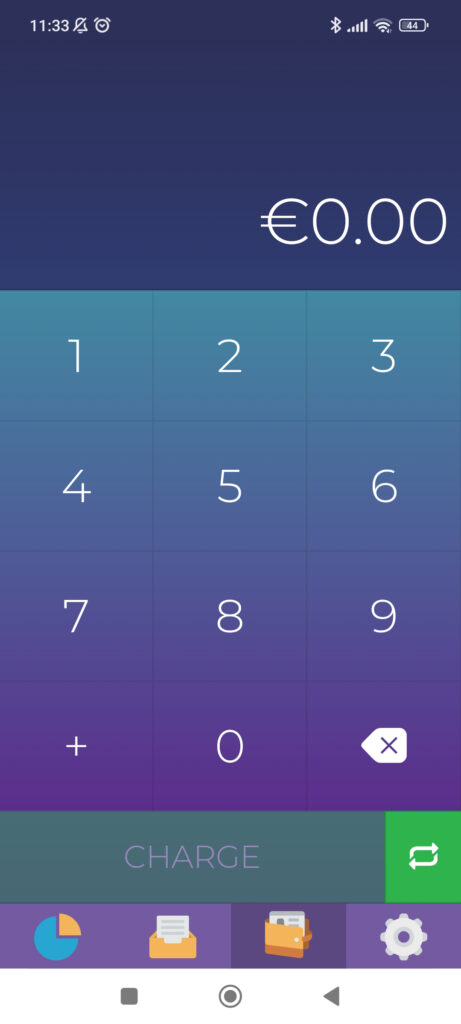
When you open your Payments app for the first time, you are required to enter your email address. This e-mail address must match the one registered in your Merchant Account setup. A verification link will be sent to this email address. Exit Payments app, find the email in your inbox (remember to check your spam folder) and click on the verification link. When you return to the mPOS app, it should automatically open to the main payment screen and you can start making transactions.
In case you do not receive the verification, e-mail or do not have access to your inbox, you can request a code to be sent via SMS to the number registered in your Merchant Account. The 4-digit code should be entered into the mPOS app for access. Once the account is verified, the app will open the main Payment screen to start transactions.
If you wish to update your e-mail address or phone number contact us.

4. Connect HiLite and payments app
The Payments app should guide you through the first steps of setting up your app and pairing or connecting your card reader.
- The mPOS app will prompt you to pair your card reader. Ensure your device (smartphone, computer or tablet) has Bluetooth turned on and that your card reader is switched on. Select the correct card reader from the options provided (identifiable from the serial number which is also at the back of your card reader).
After that, Bluetooth pairing is simply carried out through the Payments mPOS App or through the device settings.
- If your card reader’s serial number does not appear when prompted, you can go into your app: ‘Settings’, select ‘Device’, and you should find your card reader’s serial number as an option there.
- Wait until you see the Bluetooth icon on the card reader screen. When the icon appears, it confirms that the card reader is connected. This may take a few seconds.
If you have paired your card reader on your device, but cannot find the reader serial number in the app when you go to Settings, Device, please enable location permissions for the app.
5. Card Reader Initialisation
- Initiate a transaction in the Payments mPOS app on your device.
- When the message “UPDATING READER” appears, the card reader will start downloading and installing the update.
- When the card reader has finished, the message “UPDATE COMPLETE” will appear. This could take a few minutes.
- Your card reader will automatically restart.
You can also trigger the configuration update by going into your app: ‘Settings’, select ‘Device’, select your card reader’s serial number and then click on button ‘Update’. The card reader will start downloading and installing the update automatically.
6. Live Transactions
Once your card reader has restarted, you can start accepting payments with your mPOS solution!
